Surface Evaluation
We identify new wood, weathering, mildew, dirt, prior coatings, damaged boards, and areas that may need repair before stain is applied.
Fence cleaning, preparation, moisture checks, color review, masking, and stain application for new or weathered cedar and pine.
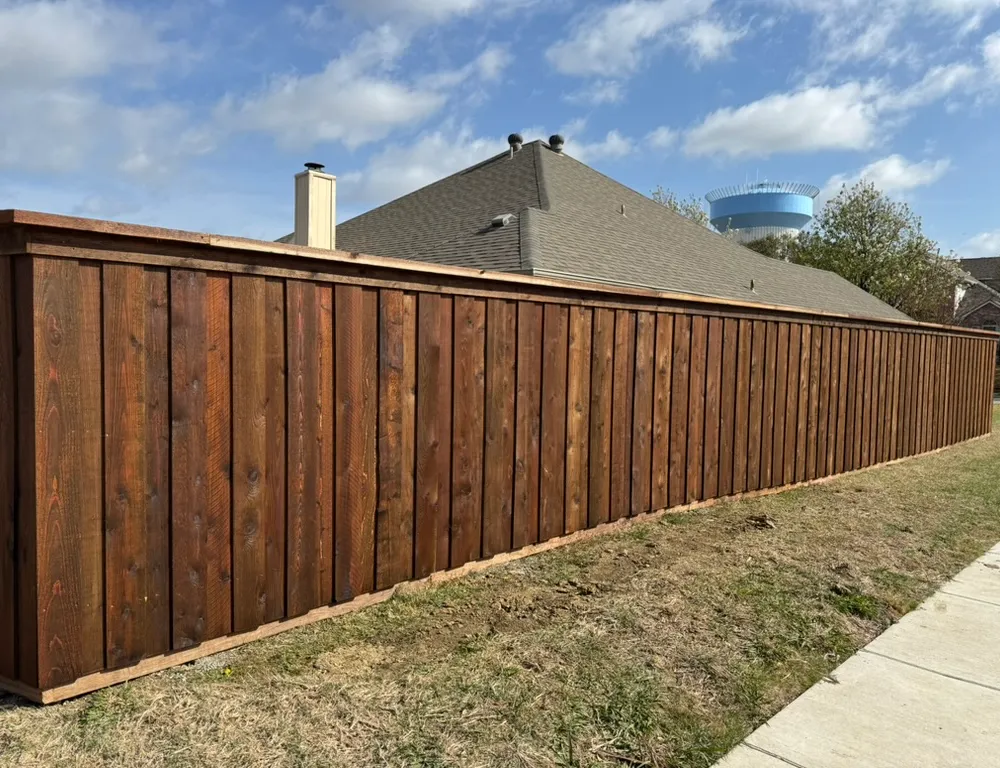
The calendar does not tell you whether a fence is ready for stain. New wood can hold moisture from milling, storage, weather, and installation. Existing fences can carry dirt, mildew, gray fibers, sprinkler deposits, or an old coating that changes how a new product penetrates.
A better staining scope starts with the substrate: wood species, age, moisture, previous finish, repairs, sun exposure, irrigation, and surrounding surfaces. Prep may range from cleaning to more involved coating removal. The selected stain must be compatible with what remains on the wood.
Color samples matter because the same product can look different across cedar, treated pine, new boards, old boards, shade, and full sun. An honest proposal describes the product, prep, application areas, protection plan, and what natural variation should be expected.
Condition, prep, product, sample color, protection, application, and written exclusions.
We identify new wood, weathering, mildew, dirt, prior coatings, damaged boards, and areas that may need repair before stain is applied.
Prep is selected for the condition of the fence. Wood moisture is checked against the selected product’s application requirements.
Transparent, semi-transparent, and more opaque finishes behave differently. Samples and product documentation help set realistic expectations.
Adjacent plants, walls, paving, metal, and neighboring surfaces are considered in the masking and application plan.
The exact timing changes by project. The decision path should not.
Review the fence line, access, grade, drainage, existing conditions, material goals, gates, and any permit or HOA constraints.
Confirm material, layout, finish, demolition, cleanup, approvals, exclusions, change handling, price, and applicable warranty terms.
Sequence the work around the approved scope, material availability, site access, weather, inspections, and required cure times.
Review the completed fence line, gate operation, visible punch-list items, care information, and the documents tied to the project.
Practical answers about timing, preparation, maintenance, color, and coverage.
Use the stain manufacturer’s moisture requirement rather than a fixed waiting period. For example, Wood Defender recommends clean, dry wood with internal moisture at or below its stated limit before application.
Usually. Dirt, mildew, loose fibers, failed coatings, and uneven weathering can affect penetration and color. The prep method depends on the existing surface and prior product.
There is no honest universal interval. Sun exposure, irrigation, product type, color, wood condition, and application all matter. Inspect the surface periodically and maintain it according to the selected product.
No. Wood species, age, porosity, previous coatings, and lighting change the final appearance. A sample area is the best way to review likely color before full application.
Any workmanship coverage and exclusions are written in the proposal. Product performance is also subject to manufacturer instructions, wood condition, weather, drainage, irrigation, and ongoing maintenance.
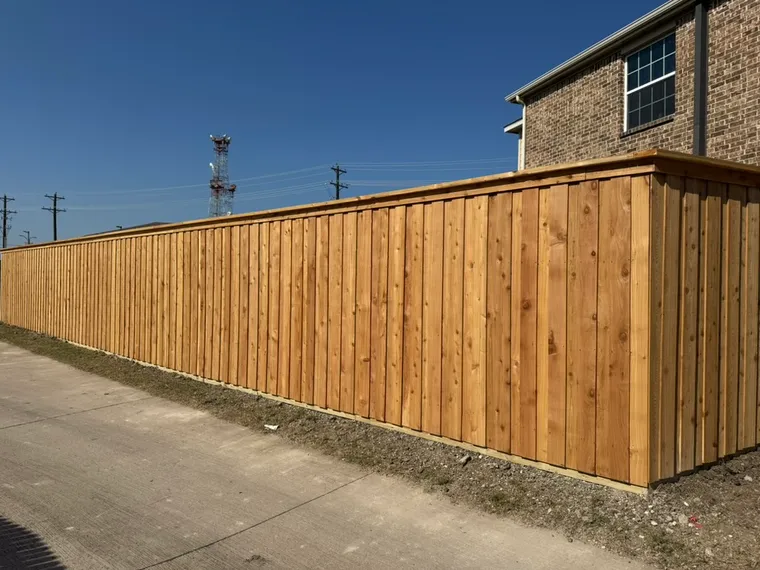
Cedar and treated-pine privacy fences with board-on-board, side-by-side, gate, trim, and top-cap options.
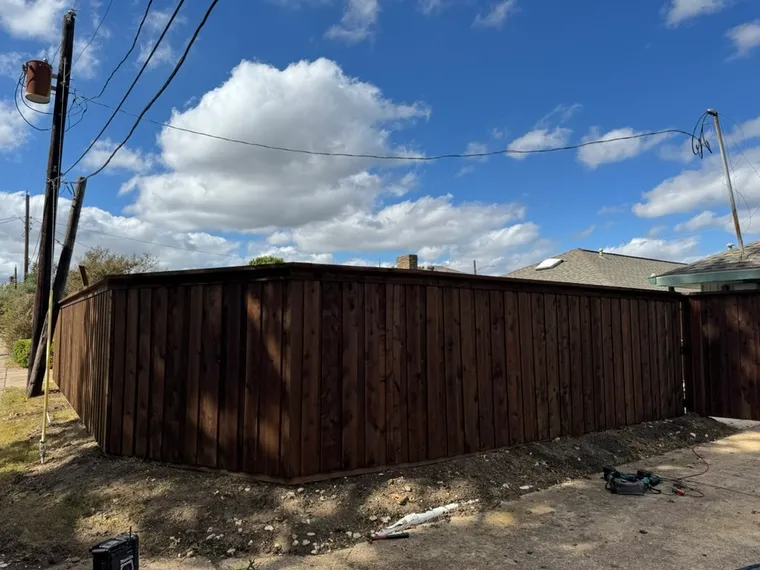
Assessment and repair for leaning posts, damaged pickets, sagging gates, bent rails, storm damage, and worn sections.
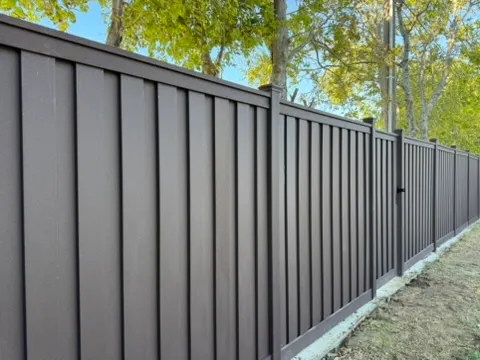
Composite fence systems for homeowners who want full privacy and less routine finishing than a wood fence.
Share the fence line, material, condition, and access details you already know. We will use them to prepare the next questions and a written estimate.